Alright, I did it! I finally completed my first sewing project. It may have taken me three or four nights to complete the pillow cover, but it is done! This is how the pillow started off:

I followed the instructions found
here for making an envelope pillow cover. First I measured the pillow (18x18) and cut the front piece half an inch larger (18.5x18.5). The second piece I cut the same width by 8 inches longer than the height (18.5x26.5). I then cut that one into two pieces into 1/3 and 2/3.

Next set up the ironing board and go to town!

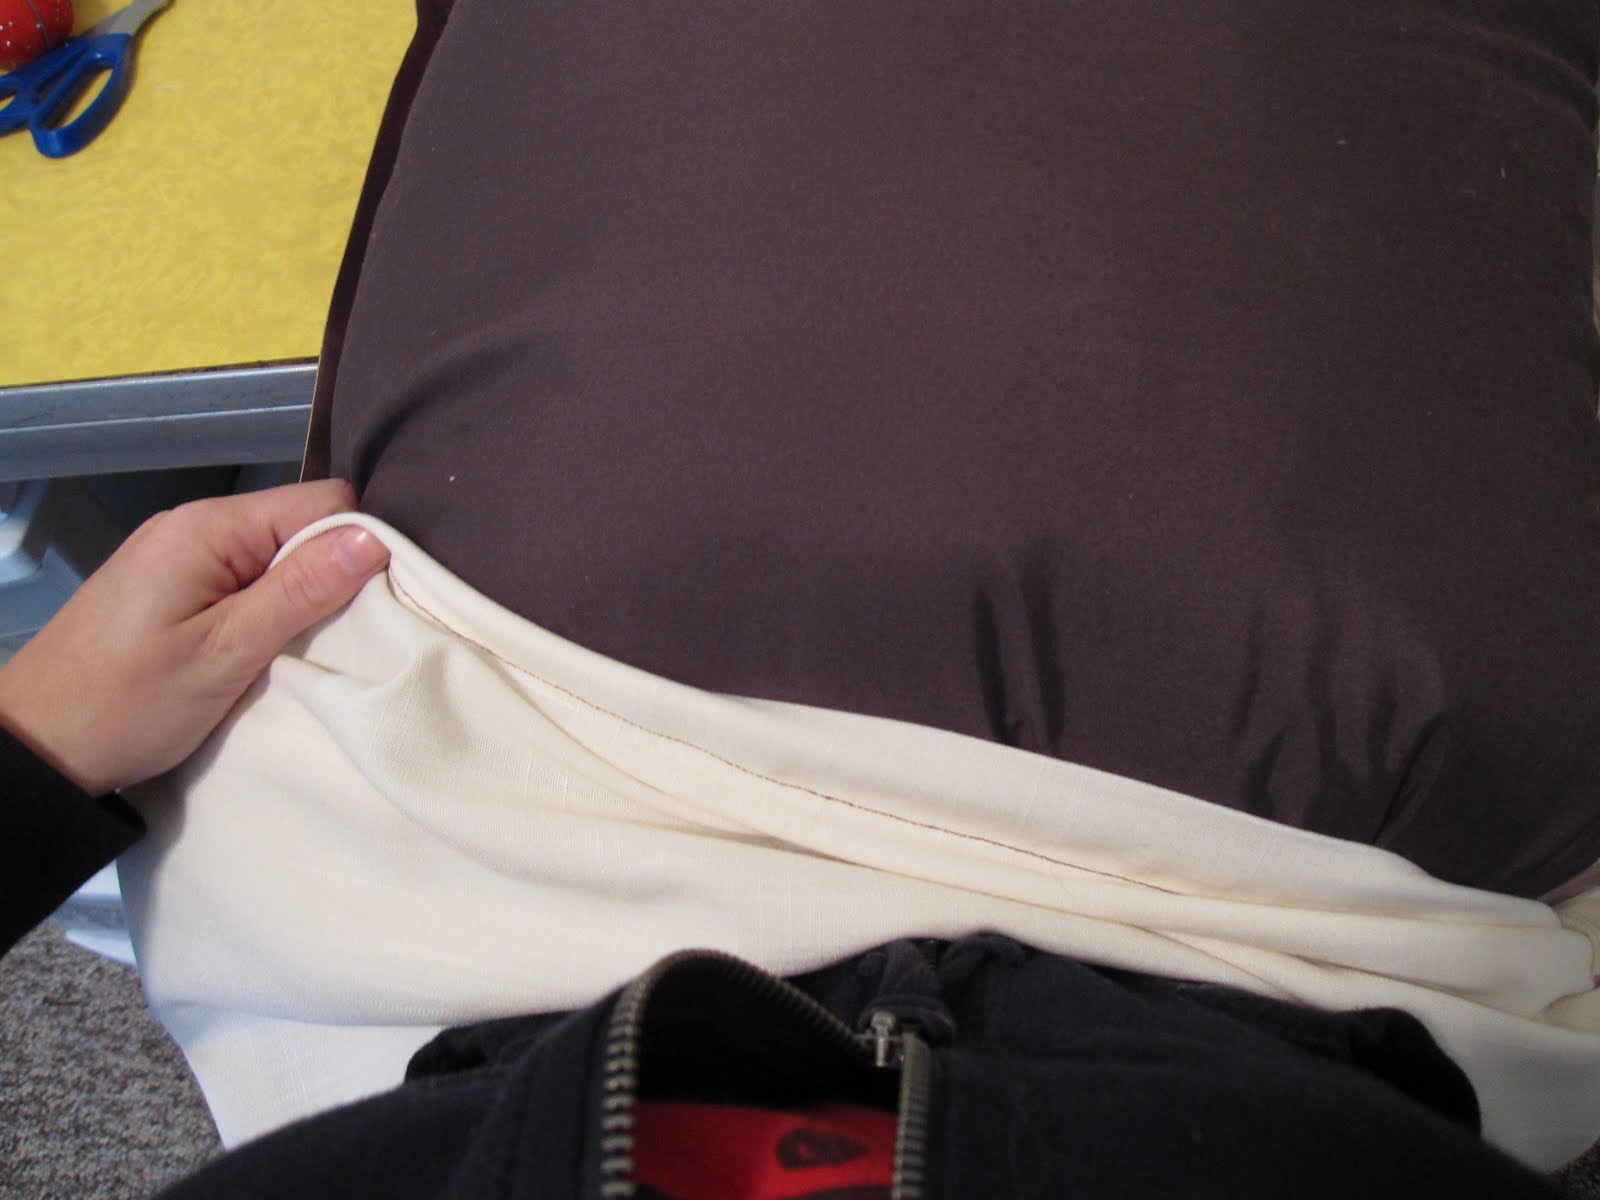
I folded over a quarter of an inch and ironed, then I again as an inch and a half then pin.


Then I stitched along the bottom fold. Next, I laid the pieces on top of each other with the 'right' side facing in. Then I pinned like crazy to make sure nothing moves.

I stitched and stitched and double stitched over the extra layers.

I was all excited to turn the pillow cover right side out. When I did...I noticed that there was a little part that wasn't completely sewn together.

I had to remind myself that this was my first time sewing since middle school and I was bound to have a few issues. I turned it back right side in and sewed up like crazy around the area that wasn't together right. It doesn't look great, but the great thing is that you'll never see it!!

Now it was finally time to stuff the pillow into it's new cover! :)

Here's the front and back of the pillow cover.


Then I got to put some of my fabric flowers on it and the pillow is ready to go!!