Pages

Showing posts with label Furniture. Show all posts

Friday, June 08, 2012

Project of the Week

Deciding to limit myself on TV and browsing the internet has so far gone over very well. In my new found spare time I completed a project I've been thinking about doing for about a year now.


I picked up this little doozy from a dumpster last August (living in a college town, you can find some pretty decent stuff that college kids throw out when moving).

It's not the fanciest piece of work, but it's been a solid night stand for about a year now....and it was free!! I've been wanting to paint it up for awhile now. My thoughts were to paint it a nice cream color and try out the whole glazing technique I've seen all over the place. 

So I went out, bought my supplies and got everything ready to go! We don't have a sander, so I decided to try liquid deglosser. I thought this would be a good project to try it with before re-finishing anything else which has more nooks and cranies.
I didn't feel like the instructions on the bottle really told me what to do so I went to my trusty computer to find some tips. Everyone seemed to really love the stuff and were raving about how easy it was to use. I just didn't feel the same way about it. It seemed like a ton of work that I was putting the deglosser on and seemed like I was having to scrub to get the results (that I thought I was suppose to get). So, if any of you experts out there have advice, let me know! :)

What did I do? I went off and bought a orbital sander. There are plenty of other projects that I want to tackle, similar to this one, which would probably need a sander of this who deglossing thing wasn't going to work. I love the sander! All seems pretty simple to me (until I get to a piece of furniture that has grooves and I have to deal with hand sanding).

Next up was painting and glazing. I did two coats of paint and tested out the glazing on the little drawer. With this one I just painted the glaze on with a foam brush and wiped it round with a dry rag. I wasn't really diggin' it. To me, it just looked like a dirtied up drawer.


The second (middle drawer in the above picture), I followed steps that I found, brushing the glaze on and then wiping it off with a wet rag. This was suppose to leave glaze in the grooves...well whaddya know, there aren't really any grooves so, I was just wiping it all off. I tried to rub some glaze around the corners and on the handle, but there didn't seem to be much difference between that and the drawer with no glaze (on the left).

At the end of the night, I was frustrated and just started brushing the glaze on, pushing it around on the surface, and playing. Then I started liking what was happening. I asked Jesse what he liked best, and this is what we decided to go with.

Last night I went to town and finished the rest of the nightstand. Today we finally have dry finished product! :)
 

It looks absolutely nothing like what I had in mind (creamed colored antique type-looking thing), but we both really like how it turned out. It looks more grey than anything, but hey, we like grey! :)

Monday, September 12, 2011

Project Show Off

Okay, I have a few projects that I have done in the past months that I haven't posted about yet. And instead of give you a boring step by step post on each of them (which really would be quite boring), I figured, why not throw pictures of the finished products (and a short commentary) all together in one big Project Show Off post?

Let's Go!
These little guys are very simply (I may have posted about them before) all I did was dump out the flour into another container and framed part of the packages!

They keep our Street Art company and are located right beside the baking supply cupboard.

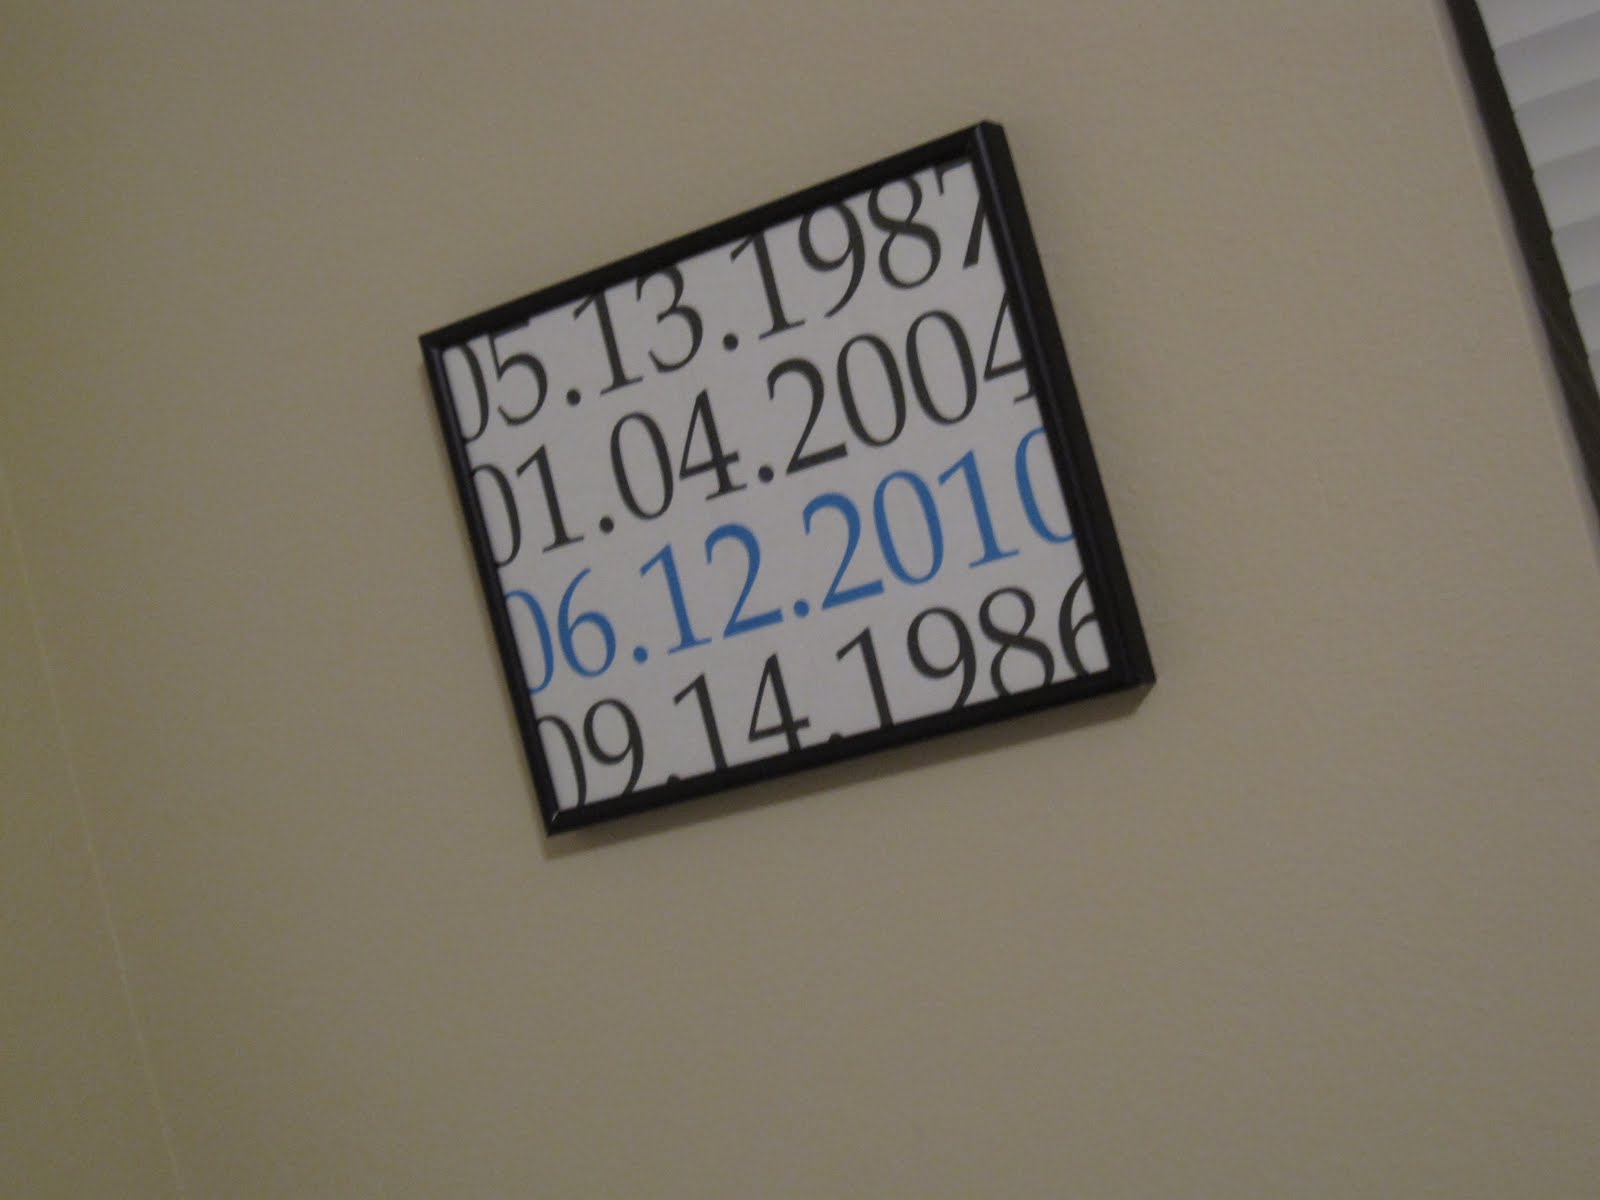
Currently blue is a little accent color in our bedroom, where this frame resides. It includes our birthdays, the date we started dating and our wedding date.

These doo-hickies, if you haven't guessed, are our initials. I cut the letters out of some cardboard boxes and hot glued pretty yarn all the way around them. They also hang in our bedroom.

I may or may not have purposefully cropped my face out of this picture....but I want you to focus on my awesome new necklace, concocted out of one of Jesse's old shirts. 

And this little guy was slightly a beast to finish. It use to be all black, and was just a cheap end table I bought from Target years ago, probably only $10. It's not made out of real wood, just pressboard, but I decided to try to sand it down. {Pain} Then I bought some colors I liked and painters tape. Slapped a few dozen (okay, maybe not quite that much) coats of the base color on. Then tried to make a chevron pattern. Two hours later, I had the table top taped off, but still not quite right and painted in the second color. I went to bed and dreamed of all the glorious chevron projects I've seen in the blogosphere and couldn't wait to see my final product. 

I took the tape off the next morning and to my dimay, the lines weren't even close to being crisp. You may not be able to tell in the pictures, but come on over for an afternoon treat, and I'll show you. The 'smudgy' edges have grown on me and it may even look like I did it on purpose, so the table (that I probably paid more for in supplies to redo, than what it originally cost) will stay as is, and I will enjoy it.

So, that's what I've done with my life recently in the last many months. What do you think? What have you been up to?

Monday, August 29, 2011

Renewed CoffeeTable

Shall we start off with the before?


The last week of July is the big moving week in Ames.  With it being a college town, the majority of leases are set up to go from August 1 to July 31 since classes start in mid-August. So it's a great time to troll the dumpster for perfectly good furniture. This coffee table was sitting by the dumpster beside my work. One of the legs was off, but all the parts were there.
I convinced Jesse to check it out with me and he agreed he would help me put the legs back on if I really wanted to give it a makeover.

First off, it was time to scrape off some gunk and stickers the previous owners had added to the table with a razor blade.


I was lucky enough that my father-in-law lent me this handy little sander device.


It's much quieter and it seemed like it was faster than the other sander I borrowed from my parents. After an hour and a half of using the "Sonic Crafter" and 40 minutes of hand sanding, it was starting to get dark and I was pooped from sanding. This is where I ended on Day 1:


Day 2:
More sanding...and I really thought I would be finished with the sanding after the second day (not the case). I started on the legs and 'drawer' with a sanding block. Then Jesse convinced me to give the sander-machine a try on them. It worked well on a good chunk of the legs. It's getting dark earlier these days, so I don't have as much time outside. End of day two, I'm hoping that it really is only one more chunk of time to get it all sanded down!

Day three:
The whole thing started coming together. I finished sanding down those little bits that weren't quite done that you can see in the above photos. Over the entire coarse of this project my mantra became: "Imperfections will give it character and I like character." Pretty much this was just my way letting myself feel okay with the bits that I couldn't actually get sanded down and give up without trying harder than I felt up to. But I also did believe it. While sanding I hoped that it wasn't the day that apartment manager's decided to start using the lawn sprinklers again.

Penny was keeping an eye on me the whole time I was outside. What a loyal pup.


After sanding, I wiped the puppy down and then got to town staining. I used Minwax's Dark Walnut stain. And only needed one coat. As I was almost finished staining I thought I heard a lawn mower start up and hoped that the middle school age kid, that seems to mow every weekend, wasn't here to blow cut grass onto my drying table.

Here is the table drying while Jesse and I went to shop for a new knob for the previous drawer, which is now just for decoration.

Day Four
It really did come together on Sunday. We set it up in the spare room to put on a couple coats of polyurethane. Which I would have thought of something to set the table on while I was sanding and staining. Probably would have prevented a few back and neck aches.


Once the polyurethane was try, Jesse re-attached the legs and drawer using some wood filler and Gorilla Glue.  We let it harden and stick over night and this morning set the coffee table up in it's permanent residence.


Here's a before and after of the table top and closer up on the legs.


A few take-aways from this project. Sanding is always much more work than what I think it looks like in my eyes. It seemed that I had back and neck aches that morphed into headaches the day after I sanded. So, that being said, it will be quite awhile before I attempt another project that involves a bunch of sanding. No thank you. But even with all the work and some pain, I quite enjoy our new piece of furniture. It is such a gratifying feeling knowing that you made (or in this case re-made) something that you will use every day in your home.


I'm linking up at Remodelaholic.